

[swift]でUiTabBarControllerで特定のボタンを押した時だけ、ページをmodal表示(遷移)させたい。
UiTabBarControllerで特定のボタンを押した時だけ、ページをmodal表示(遷移)させたい場合。
ようはインスタのTabBarみたいな感じですね。投稿ボタンおす時だけmodaly表示されますね
tabbarの投稿ボタンを押した時だけPresent Modalyのように遷移する感じです。
たとえばツイッター的なアプリのTabBarで
TabBarControllerで3ページ作るとする。topページ、投稿ページ、マイページ。その3つのボタンが配置されます。
2番目の投稿ボタン(投稿ページ)を押した時だけ、投稿画面が下からスイっとmodal表示される。みたいな感じにしたい。
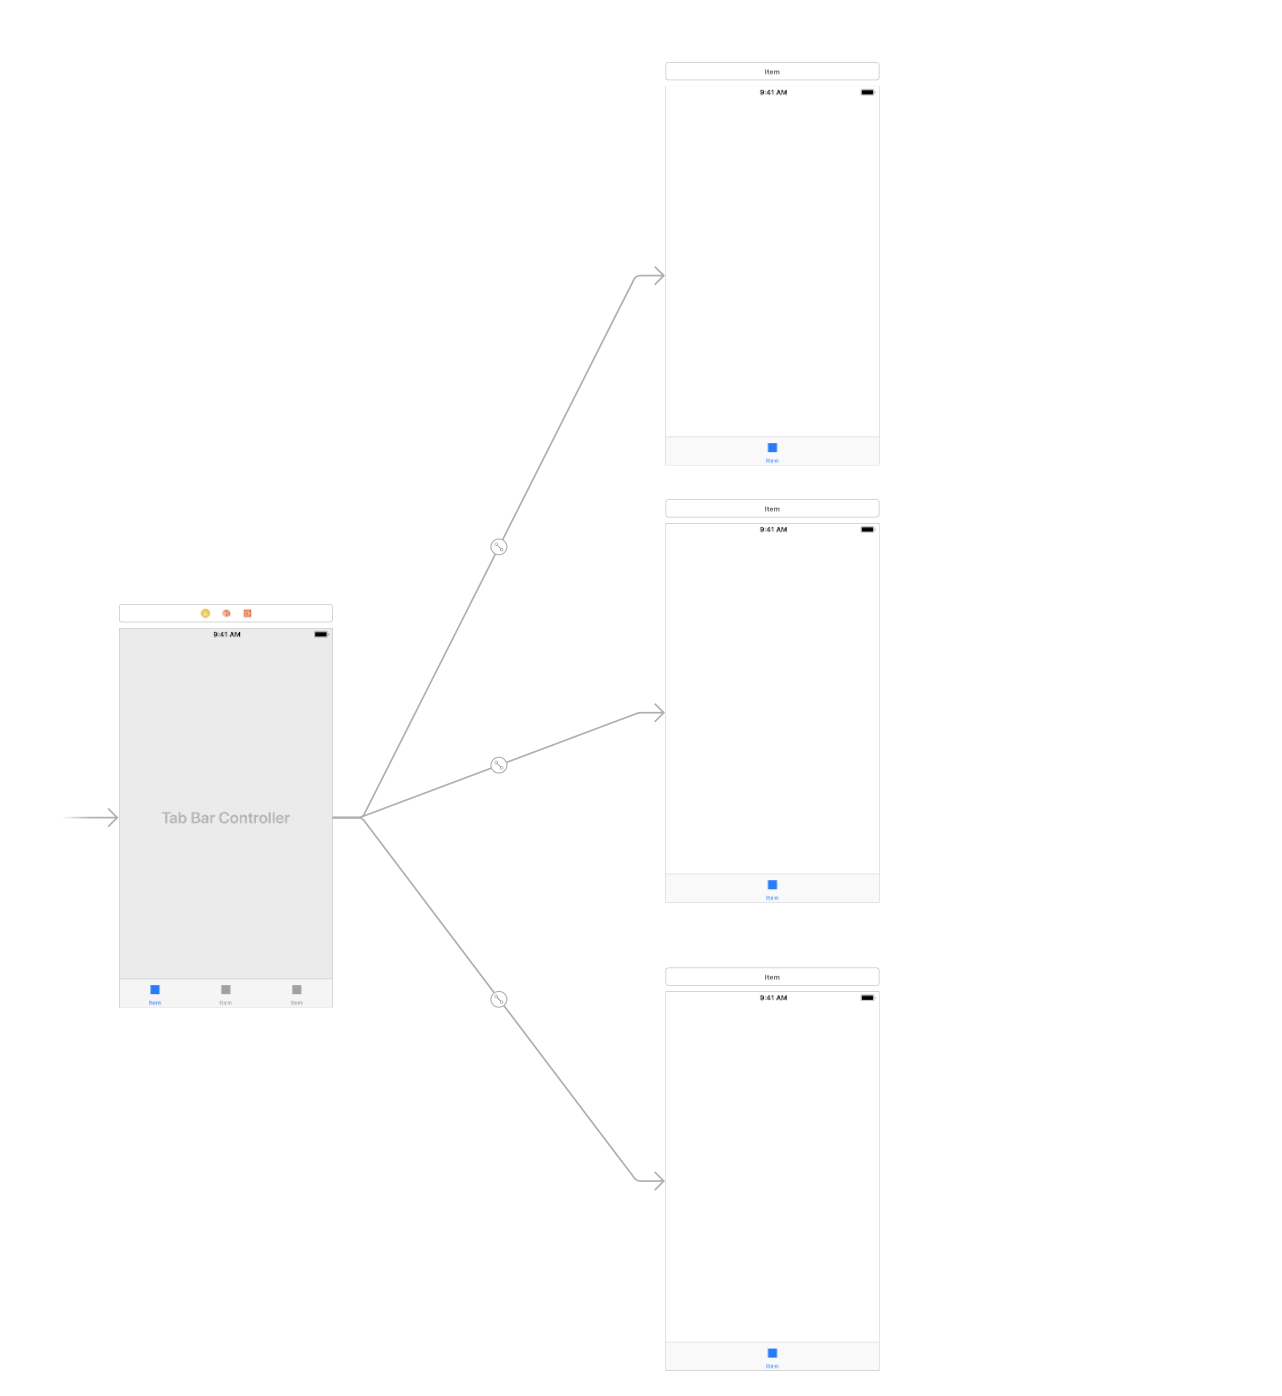
Story Board上で、まずUIViewControllerを3つ用意してUITabBarControllerにRelationship Segueつなぎますね。
あとStory Board上で、UITabBarControllerには、TabBarViewController.swiftをつなげるとして。
まあ、こんな感じですかね
modal表示させたい2番目の投稿ページの、Storyboard idとclassを使いますので、投稿ページのUIViewControllerに設定しといてください
Storyboard id:ShareTweetViewController、class:ShareTweetViewController.swift としておきましょうか
そしてUiTabBarControllerに繋いだTabBarViewController.swiftには、このように書きます
TabBarViewController.swift
import UIKit

class TabBarViewController: UITabBarController, UITabBarControllerDelegate {

    override func viewDidLoad() {
        super.viewDidLoad()

        self.delegate = self

        //TabBarの装飾
        //指定する色を定義
        let blue = UIColor(red: 0 / 255, green: 161 / 255, blue: 255 / 255, alpha: 1.0)


        // TabBarの背景色の設定
        UITabBar.appearance().barTintColor = blue

        //3ページを格納
        let firstViewController  = self.viewControllers![0]
        let secondViewController = self.viewControllers![1]
        let thirdViewController = self.viewControllers![2]

        //TabBarのボタンの画像のパーツ
        let homeImage            = UIImage(named: "home")
        let highlightedHomeImage = UIImage(named: "highlighted_home")
        let addTweetImage            = UIImage(named: "addTweet")
        let highlightedAddTweetImage = UIImage(named: "highlighted_addTweet")
        let myPageImage            = UIImage(named: "myPage")
        let highlightedMyPageImage = UIImage(named: "highlighted_myPage")

        //それぞれのView Controllerのボタン(Tab Bar Item)に用意した画像を設定
        firstViewController.tabBarItem  = UITabBarItem(title: "HOME", image: homeImage, selectedImage: highlightedHomeImage)
        secondViewController.tabBarItem = UITabBarItem(title: "ツイート投稿", image: addTweetImage, selectedImage: highlightedAddTweetImage)
        thirdViewController.tabBarItem = UITabBarItem(title: "マイページ", image: myPageImage, selectedImage: highlightedMyPageImage)

        // Do any additional setup after loading the view.
    }

    override func didReceiveMemoryWarning() {
        super.didReceiveMemoryWarning()
        // Dispose of any resources that can be recreated.
    }

    func tabBarController(_ tabBarController: UITabBarController, shouldSelect viewController: UIViewController) -> Bool {
        if viewController is ShareTweetViewController { //もしShareTweetViewController.swiftをclass指定してあるページ行きのボタンをタップしたら
            if let newVC = tabBarController.storyboard?.instantiateViewController(withIdentifier: "ShareTweetViewController"){ //withIdentifier: にはStory Board IDを設定
                tabBarController.present(newVC, animated: true, completion: nil)//newVCで設定したページに遷移
                return false
            }
        }
        return true
    }


    /*
    // MARK: - Navigation

    // In a storyboard-based application, you will often want to do a little preparation before navigation
    override func prepare(for segue: UIStoryboardSegue, sender: Any?) {
        // Get the new view controller using segue.destinationViewController.
        // Pass the selected object to the new view controller.
    }
    */

}
これでうまくいきます。
拡張性を考えて、それぞれのviewControllerにNavigation Controllerをembed inさせてもいいですね
そうすればインスタみたいに、上部のnavigationにキャンセルボタン入れられますからね。
その場合はそのNavigation Controllerに、そのStoryboard idとclassを使いますんで設定してください。